DIY Kimono
By Aimee on
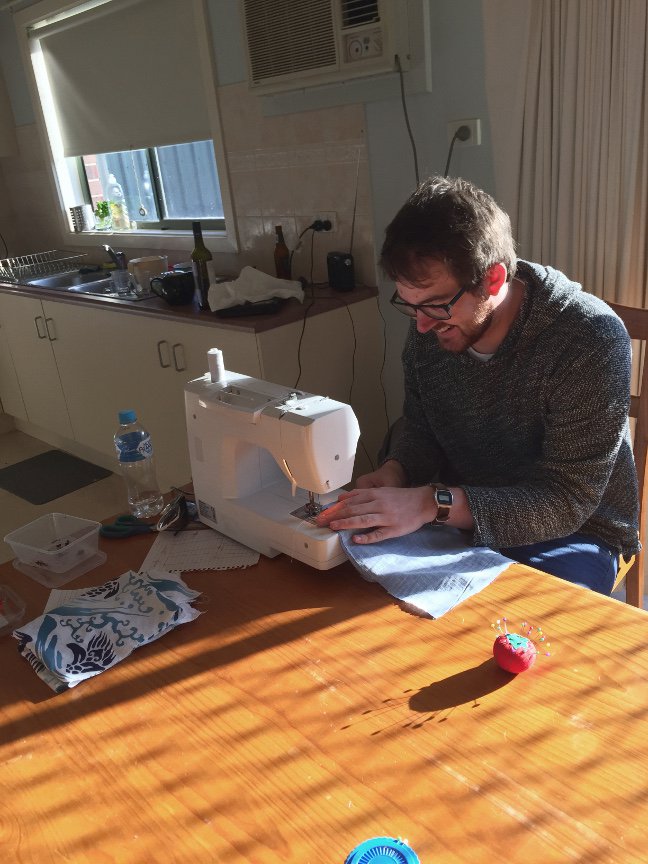
So we finally got around to making our very own fabulous kimonos. Now it was a joint effort where Sam helped make his own and I did mine first so really his is better than mine. We used some of our own intuition and this website to help with the shape and how to sew it together.
Measurements
There aren’t that many measurements you will need. Firstly you will need the length from the top of your shoulder to where you want the kimono to stop (usually around the ankle) and double that length. This will be used for main body pieces. Then the width of your shoulder to the centre of your back. For example mine was 270cm by 30cm. You will need two rectangles this size. Depending on the fabric you buy will depend on how you lay out your pattern. I bought 3 1⁄2 metres for mine and 4 for Sam and we still had some leftover but very glad we bought that much due to the way the pieces had to be cut. For the arms you will want them to be 2⁄3 the length of the body and the same width. Mine were 180cm by 30cm. The overlap pieces are half your body pieces (135cm for me) by the same width (30cm) I had to do mine a little thinner due to the fabric (24cm) but it still turned out all OK! The last measurement you want will be length from your shoulder where you want the kimono to wrap on the other side (normally hip bone). You will want to add 10cm to this and double the length to get the collar length. (Mine ended up being too short because I didn’t do this properly) the width is up to you but I had a 10 cm collar so you will need to cut a piece 3x that width with a 2cm seam allowance. It does make more sense once you read the assembly instructions. I did two halves of a collar for Sam and then sewed them together as I couldn’t do it any other way with the fabric we bought. You should end up with two arms, two body pieces, two overlap pieces and one to two collar pieces (again depends on the fabric you buy)
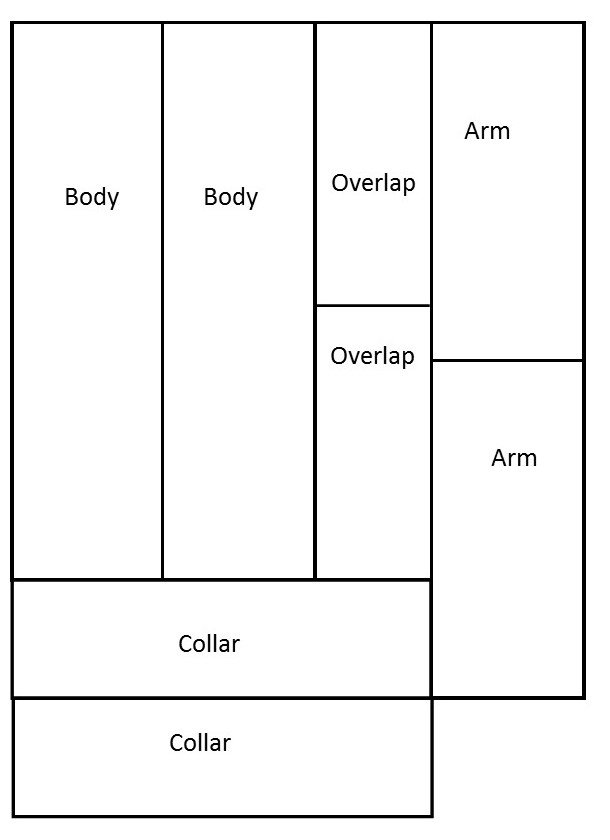
This image is a guide only. You may have to change up the way it sits depending on length and width of the fabric you buy.
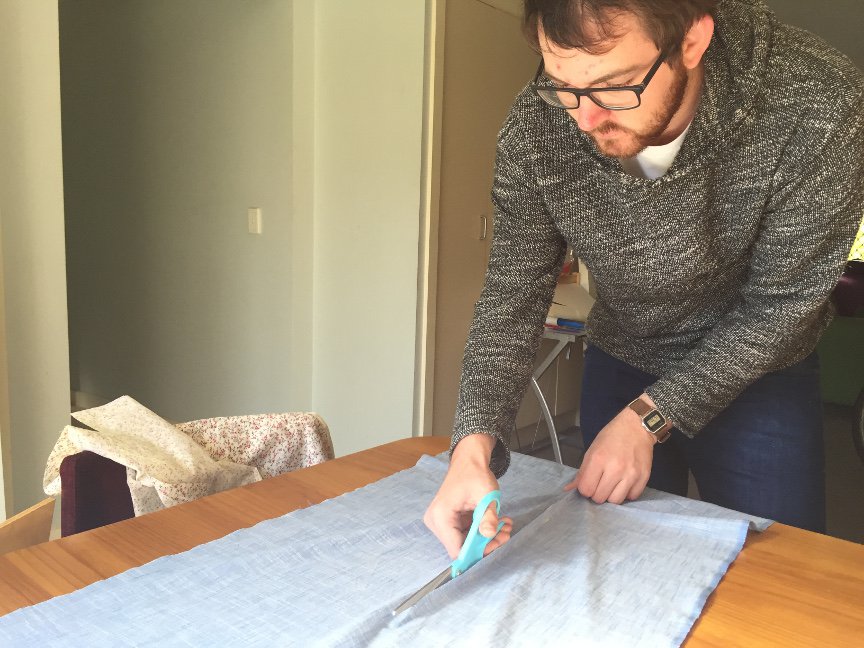
Assembly
If you follow the link above for the assembly of the garment you will end up being pretty right with putting it together. The only thing I changed was with the collar because I was afraid it would just unravel. I pinned and sewed some of the collar where the seams meet at the top (centre back seam) to keep it from coming undone up there and when the collar was attached at the ends sewed a little along the fold to keep it together there too. Again it will make more sense once you give it a go. Other than that I think it was a pretty simple piece to make and a good one for beginners as there’s not many curved lines or lining. Just make sure you finish off any raw edges with a 1-2cm hem and you will be good to go!
Don’t forget the Belt!
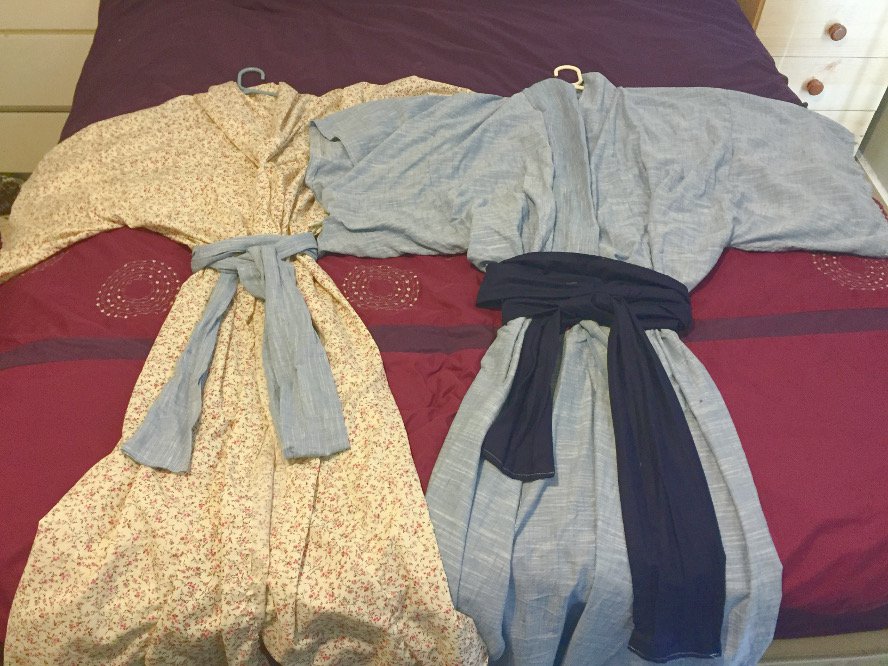
We bought a 1⁄2 metre of fabric in a contrasting colour, cut it in half width wise (so we had 2 1⁄4 metre pieces of fabric) sewed them end to end (one long piece of 1⁄4 metre fabric) folded that in half, sewed along the edge (right sides together) and then flipped it inside out (which is actually the right way) sewed the ends closed (nothing fancy) and had a belt. It goes around me fine but only just fits Sam so you may also need extra material. You want it to wrap around you twice and be able to tie up.
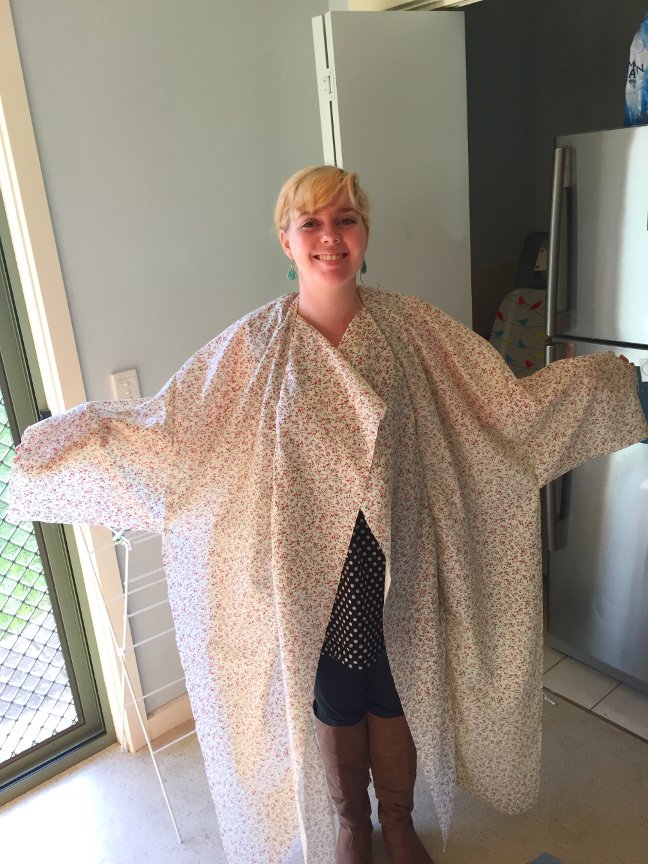
And there you have it, now to sit back, draw yourself a bath and relax. Then when you pop out you have a light breezy comfortable Kimono to wear!