e.l.f Review
By Aimee on
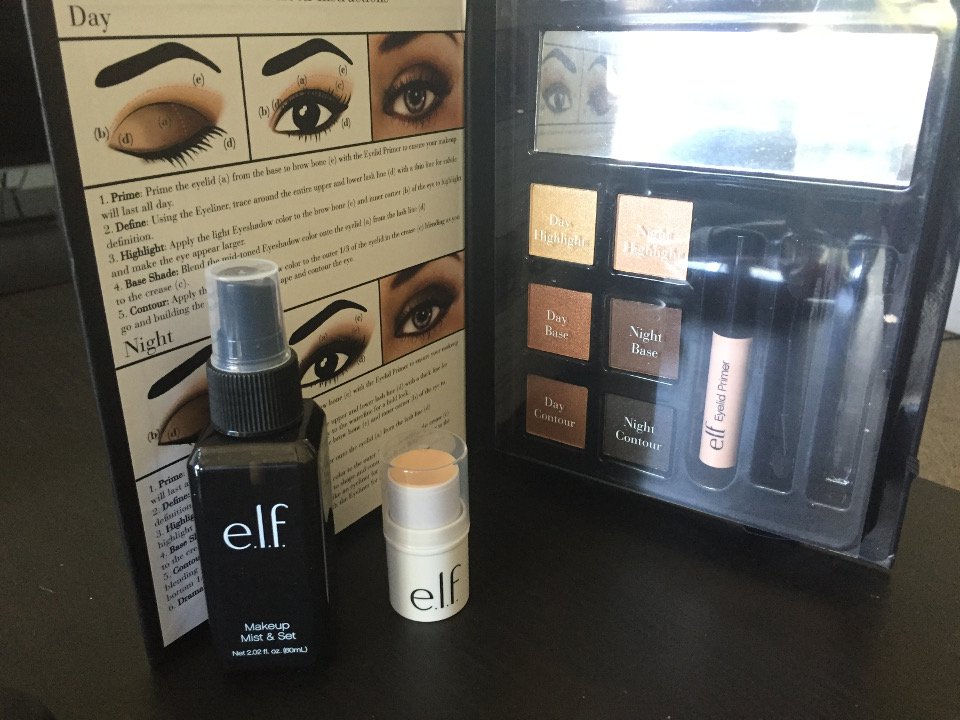
So I just got a lovely little package in the mail of a few new makeup products from e.l.f. I quite like using their products because 1: I don’t wear makeup often and 2: The price is right. So what came in the mail? I received the lovely Beauty Book which has six eyeshadow colours, an eyelid primer, applicator, and eyeliner pencil; The Makeup Mist & set which I’ve read is comparable to the Mac version; and an all over cover stick in ivory as I’m crazy pale. This post will talk through how I feel about the application and how long it lasts. I will list all the other products I have used but just note they are all generally drug store (cheap) options. But if it works then why spend a fortune right? Everything written in this post is from my personal opinion/experience of the products and if you have had a different experience or use a product differently and have better results I would love to know about it, now please excuse all the fly-away hairs and bad lighting in the bathroom.
Step 1: Primer / Foundation
For the primer I used the e.l.f. green tone correcting mineral primer, I have pretty red skin and using it makes me feel kinda fancy. It is a bit oily but I don’t use much. For the concealer/foundation I have used my all over cover stick. Which didn’t work so well for me. I normally use a liquid or BB cream which soaks into my skin much nicer. The stick makes my skin look quite dry and pigmented. I used a beauty blender to try to push it into my skin but didn’t work as well as I wanted. I then used a cream blush and a loose powder bronzer to help contour a little bit (nude by nature).
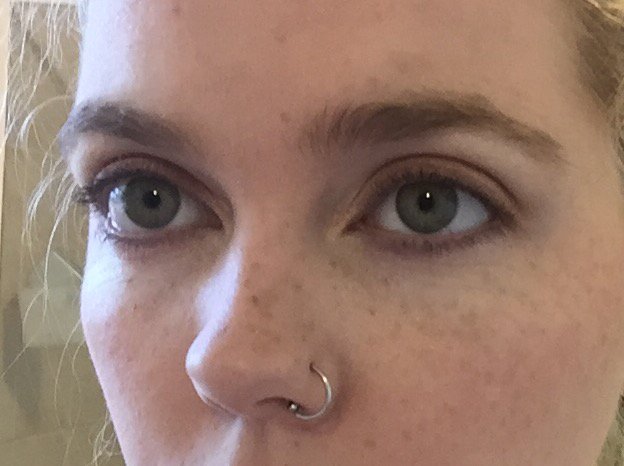
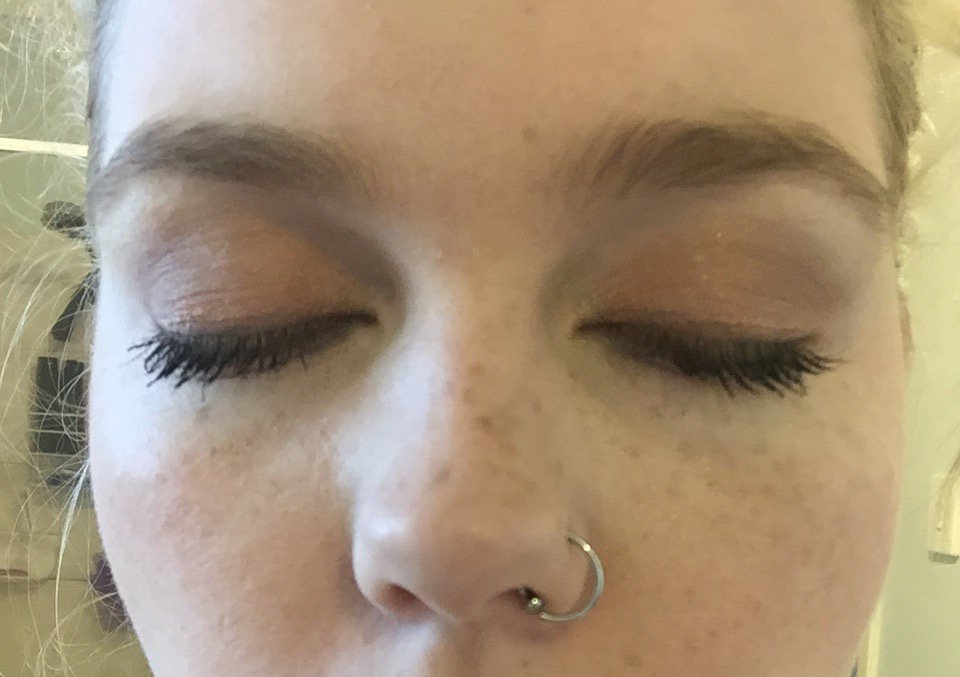
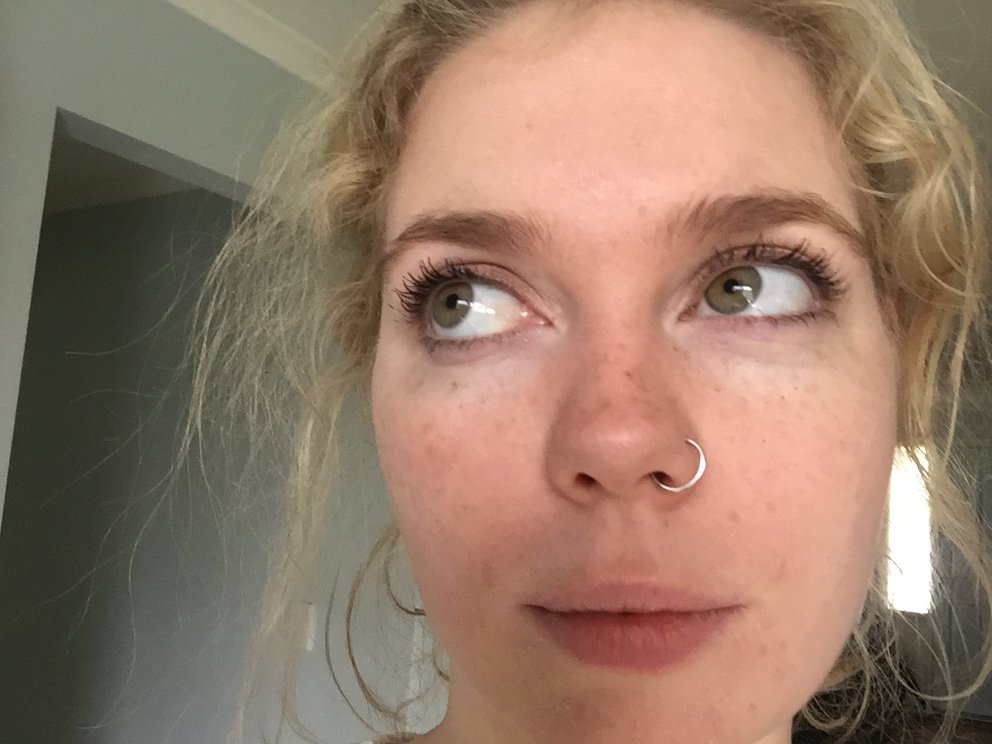
Alright here we go! Now I have just followed the instructions that are on the inside of this beauty book and I have gone with the day colours. So I’ve primed the lid, traced my upper and lower lash line with the eyeliner, put the highlight colour on the brow bone and inner corner of my eye, popped the base shade on my lid and put the contour on my crease, then attempted to blend. You will probably do a better job of your own eyes, I just follow other peoples tutorials and give it a go myself. So far pretty good I think. I then added more eyeliner to the top line and put on some mascara. I quite like the colours and the primer, It seems to sit quite well and they are colours that I wouldn’t normally pick but are really quite pretty. I think that next time I won’t cover my whole lid with the base colour as I feel that with their shape the colour should sit more in my crease and less on my lid. Just because the colour is quite dark compared to what I normally wear.
Step 3: Finishing touches
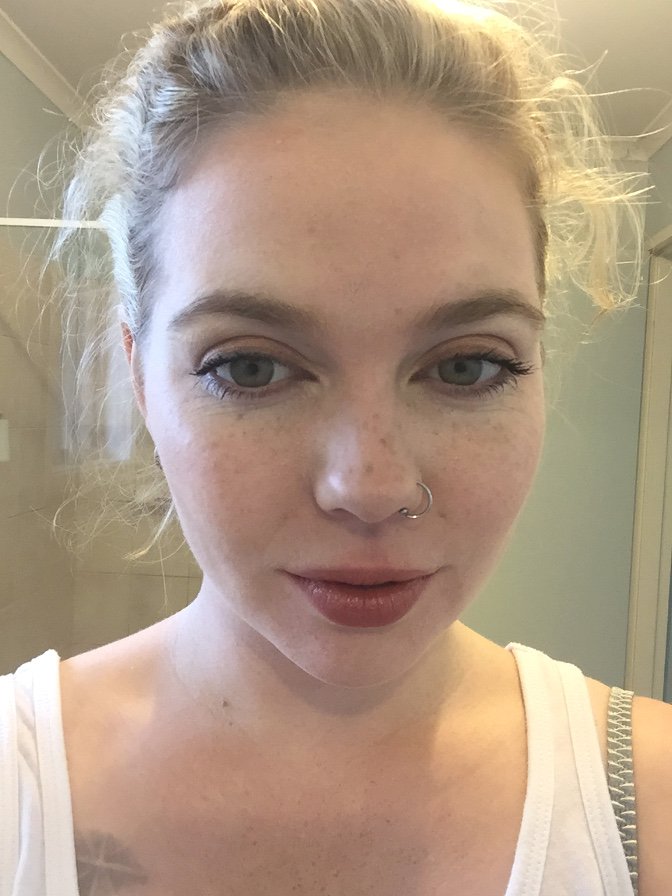
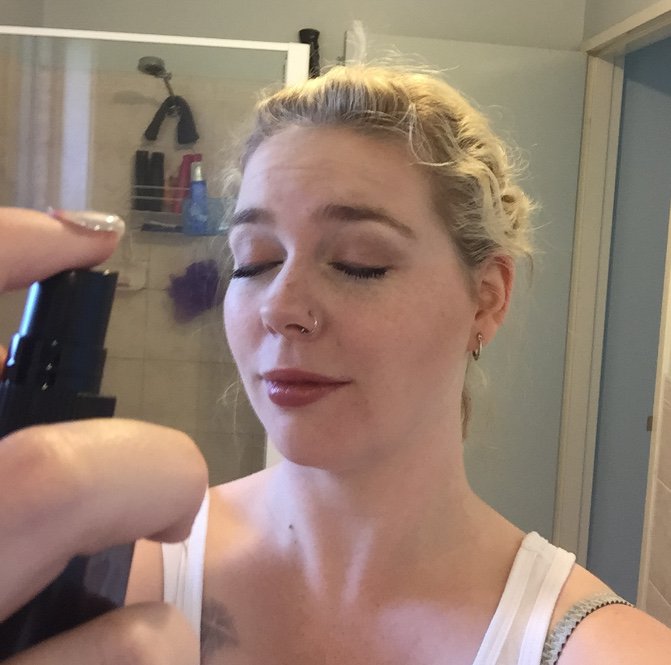
Last part is the lips and I always have trouble picking the right colour, plus I’m not the biggest fan of lipstick or gloss because then I can’t kiss Sam… or if I do I leave stains. So I decided on just some paw paw cream and a lip crayon from Avon. The crayon dries out my lips but stays on forever so I put on paw paw cream first to keep my lips from drying out. I think it turned out OK. Last but not least the spritz or mist and set spray. I have no idea if I did this right but I did feel it on my face. I may have done it a few times just to be sure. Now we wait to see how it all fares.
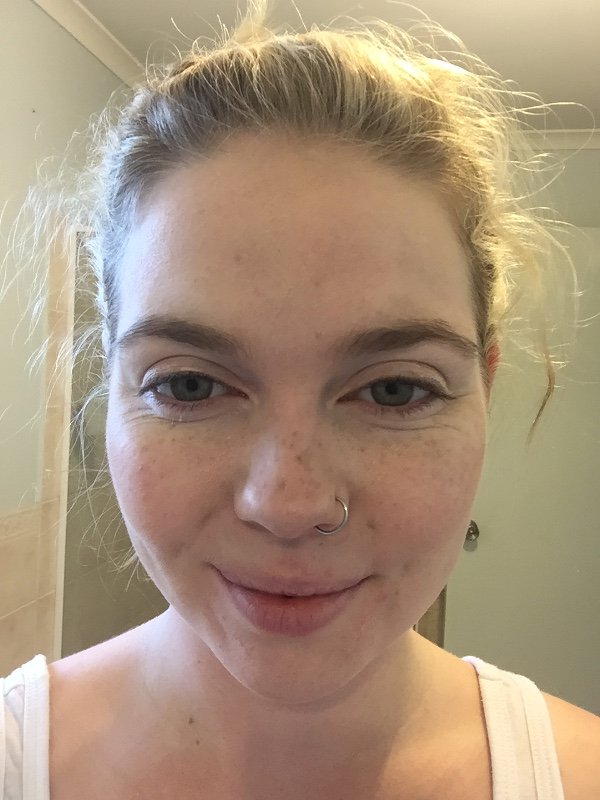
How well did it last?
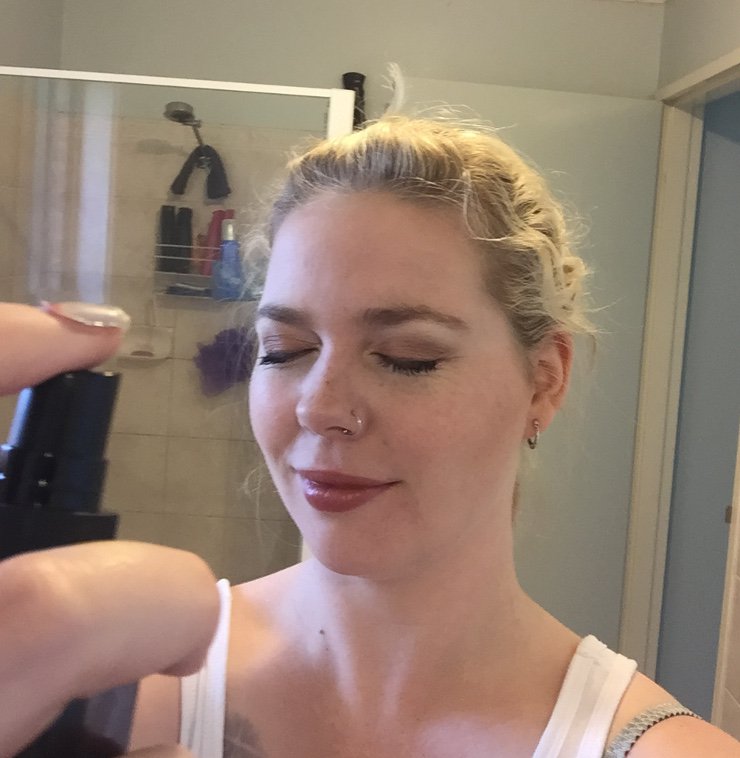
I’m thoroughly surprised at how long it lasted. I went out to a house party, drank, jumped in a spa and woke up with my eye makeup looking pretty darn good still. Now I’m not sure whether it was from the primer that I applied before hand or the mist so more experiments are due but you can see for yourself how well my eye makeup lasted with the post party picture I have added below. Let me know if you have tried these products and what you think of them through my facebook page!