Elsa 'Dolly Varden' Cake
By Aimee on
Birthday Cakes. On my bucket list I wanted to get better at cake decorating/making. With this cake I feel that I can say although a challenge, it was definitely successful.
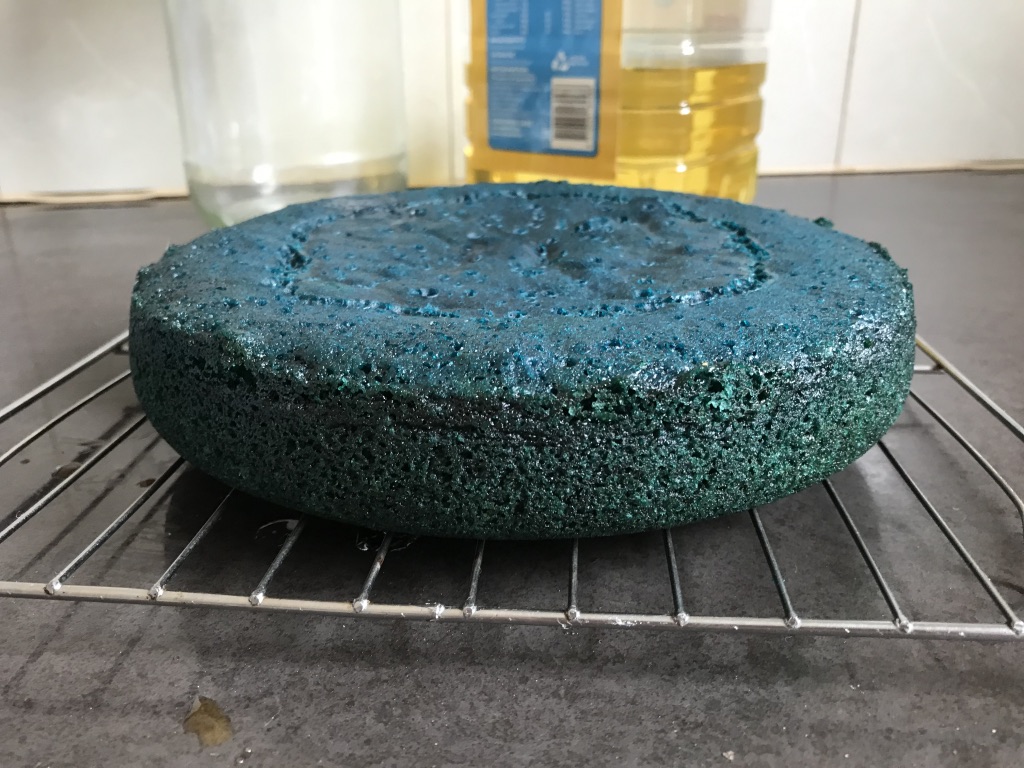
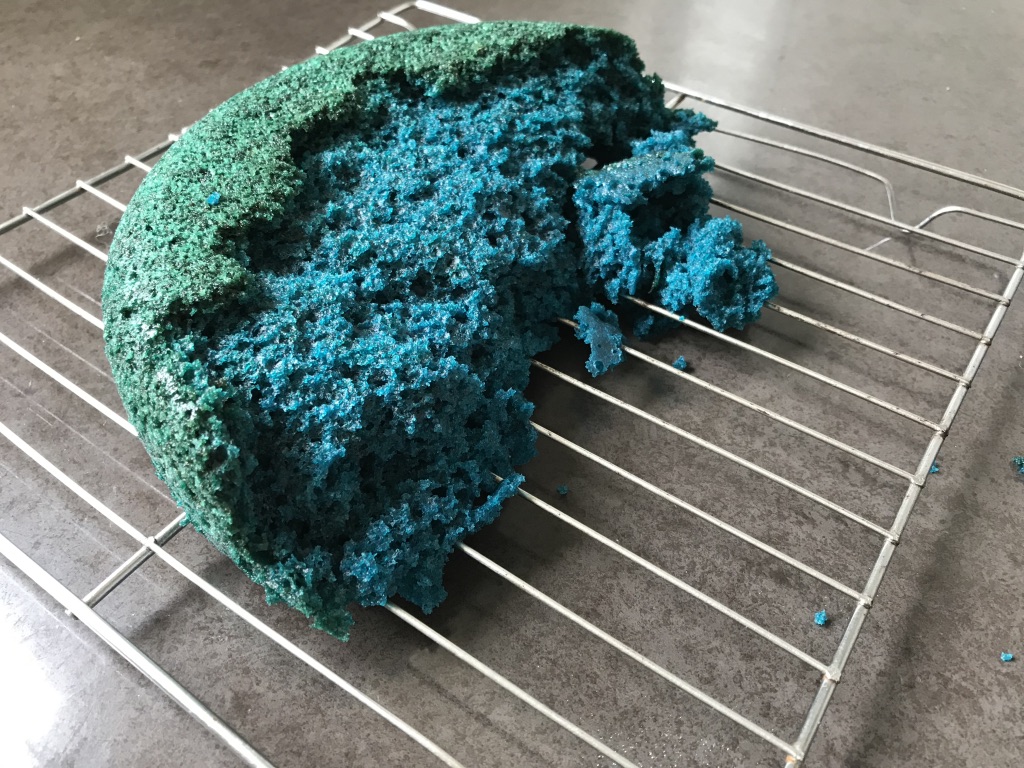
To start with I made 2 batches of this lovely red velvet cake. Being Elsa I just changed it from red velvet to blue velvet by changing the food colouring. This made 4 cakes in our rice cooker.

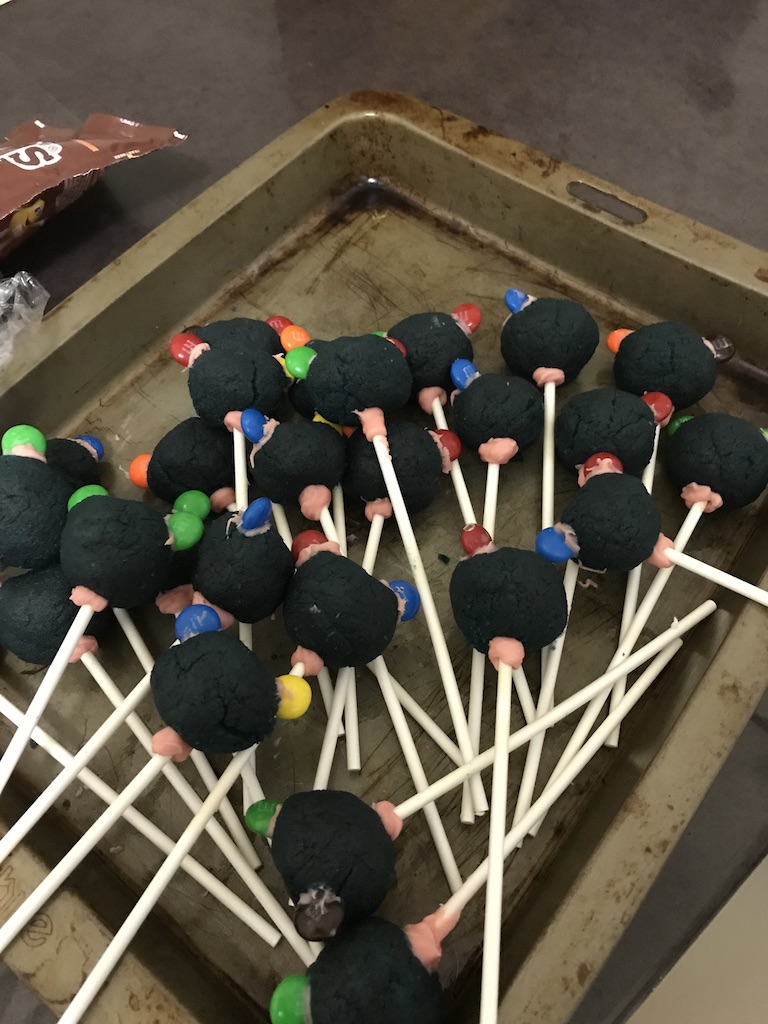
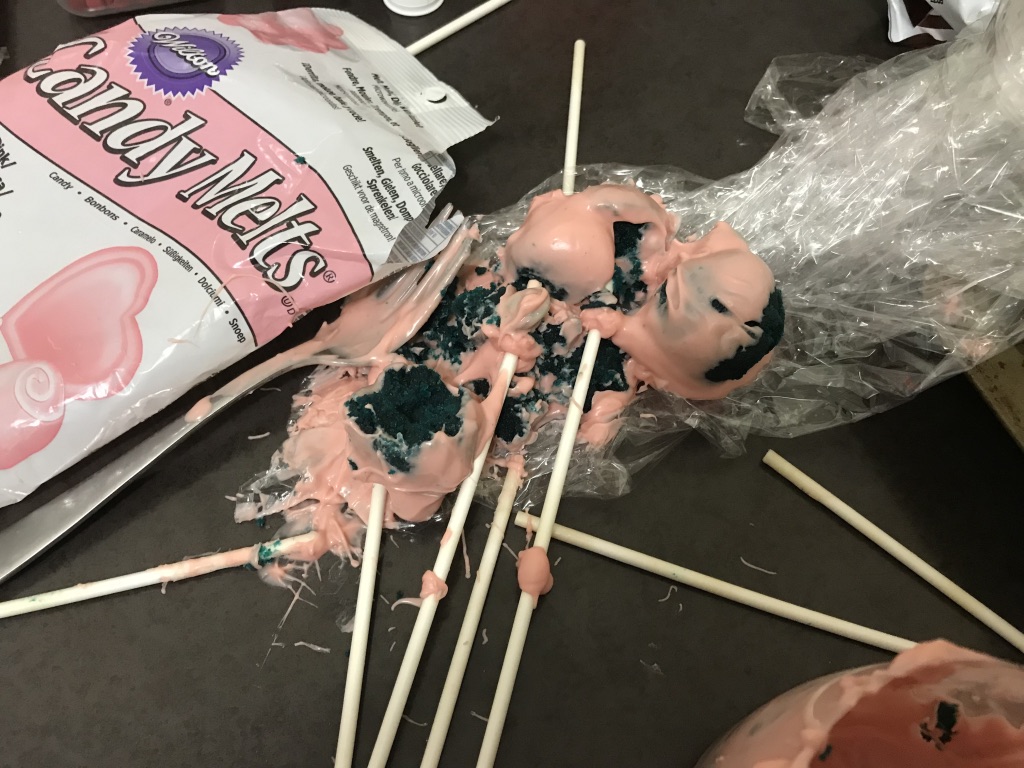
That’s right, I cooked them in our rice cooker. You put 2 cups of the mix into the cooker and press start on the cake function. It’s the best! 2 layers were perfect, 1 was a little sunk in, and well, the first one completely broke. I was also planning on making cake pops so that was fine but I still needed some height.
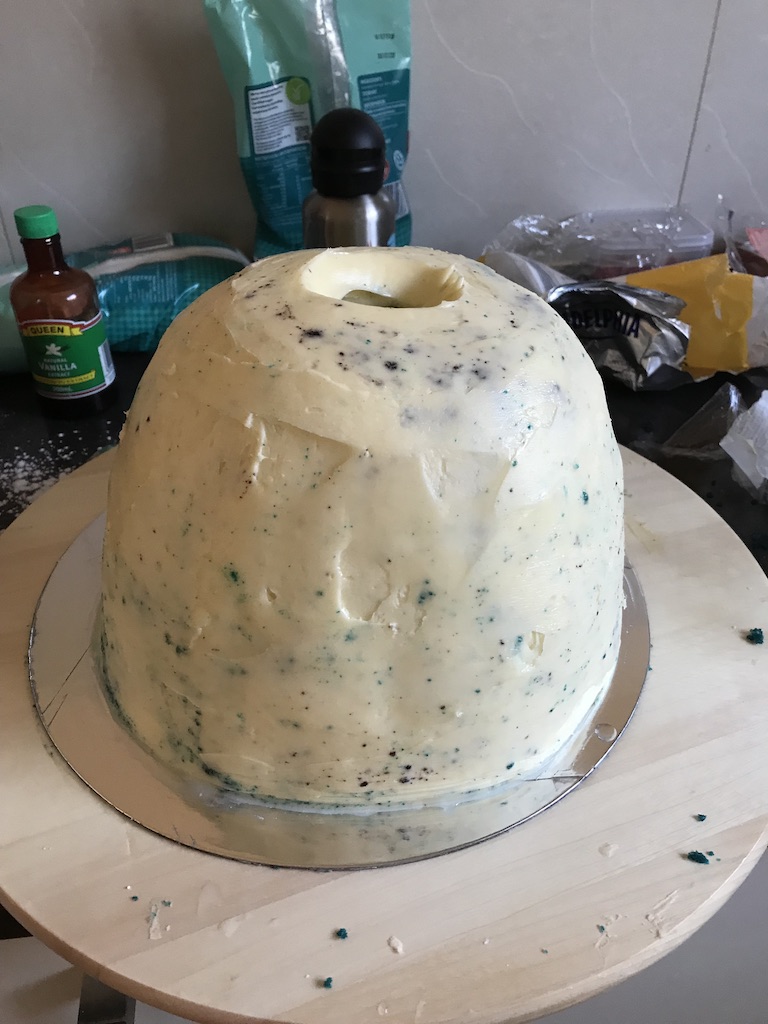
To fix this I purchased a mud cake from the shops so I didn’t have to buy more ingredients for one more cake. I then cut a hole out of the middle of all the cakes that would fit the doll into before I wrapped them all in glad wrap and froze them. I used a cookie cutter that just happened to be in the cupboard that I normally use for scones.
I unfortunately didn’t get any photos of this process.
To stack the cakes I first got a cardboard base then put some of my cream cheese frosting on the bottom before stacking and frosting each layer. The recipe for that is also in the above link. I then used a serrated knife to cut down the shape. This mostly worked but I had a very tired and cranky toddler pulling at my legs so it might not have been as even as I would have liked.
Back into the freezer it went as I was out of frosting.
Once I bought more ingredients for the frosting I made my cake pops and crumb coated the cake. As you can see I have just used plain icing but next time would use some food colouring and have it be a little blue. I ended up making 4 batches of icing to cover the cake and pipe. I didn’t actually use 4 batches worth, more like 3 to 3 and a half but it is better to have too much than not enough.
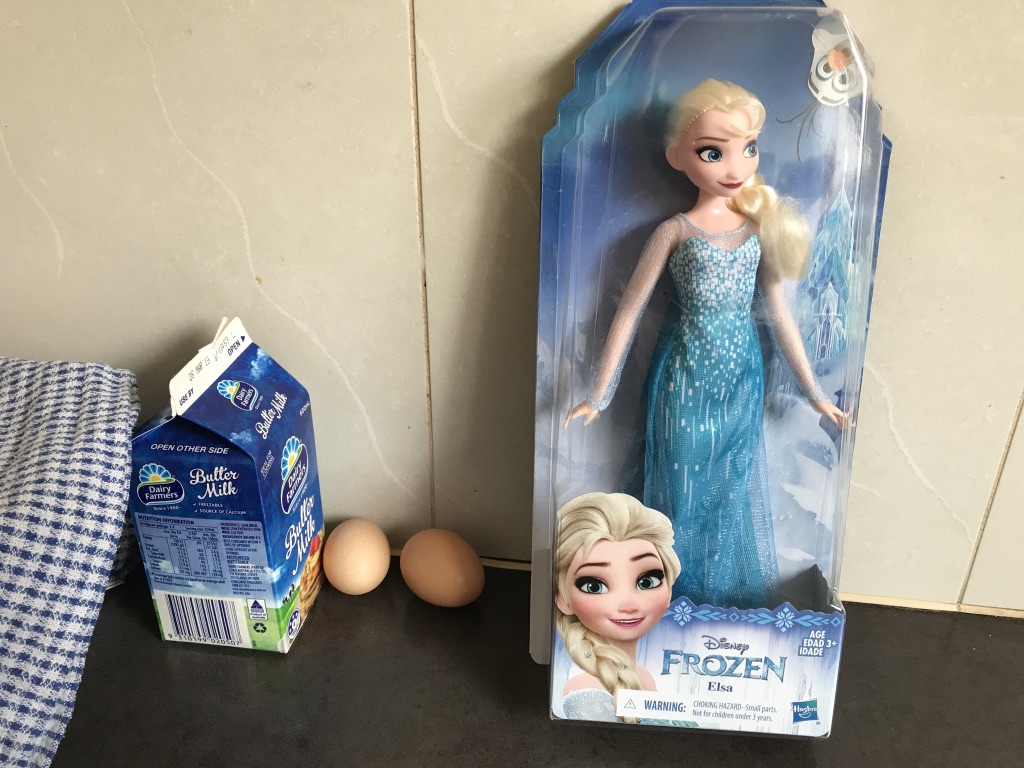
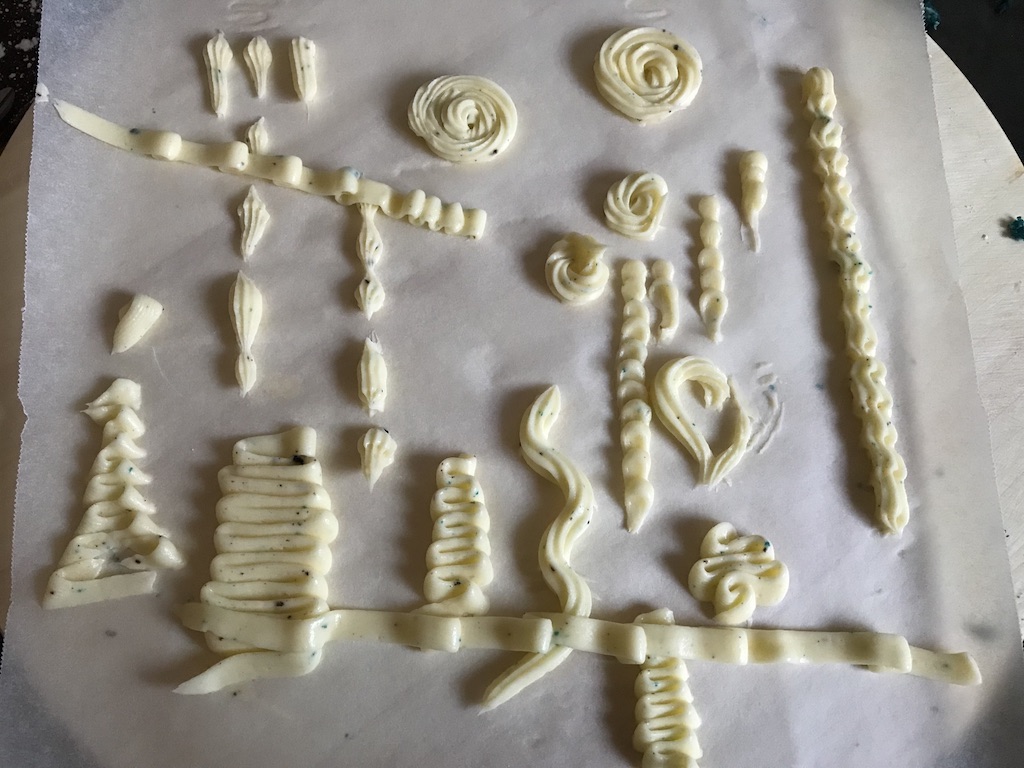
Before continuing I put it back in the fridge and practiced doing some piping as this was a relatively new thing for me. I also wrapped up Elsa the doll in glad wrap and aluminium foil. This was to make sure she didn’t get any frosting on her.
After shoving Elsa into the opening at the top I started to pipe. I didn’t use anything fancy. Just a cheap piping kit from the store. I used just the coupler to pipe some circles that I used a spoon to flatten out to get this look.
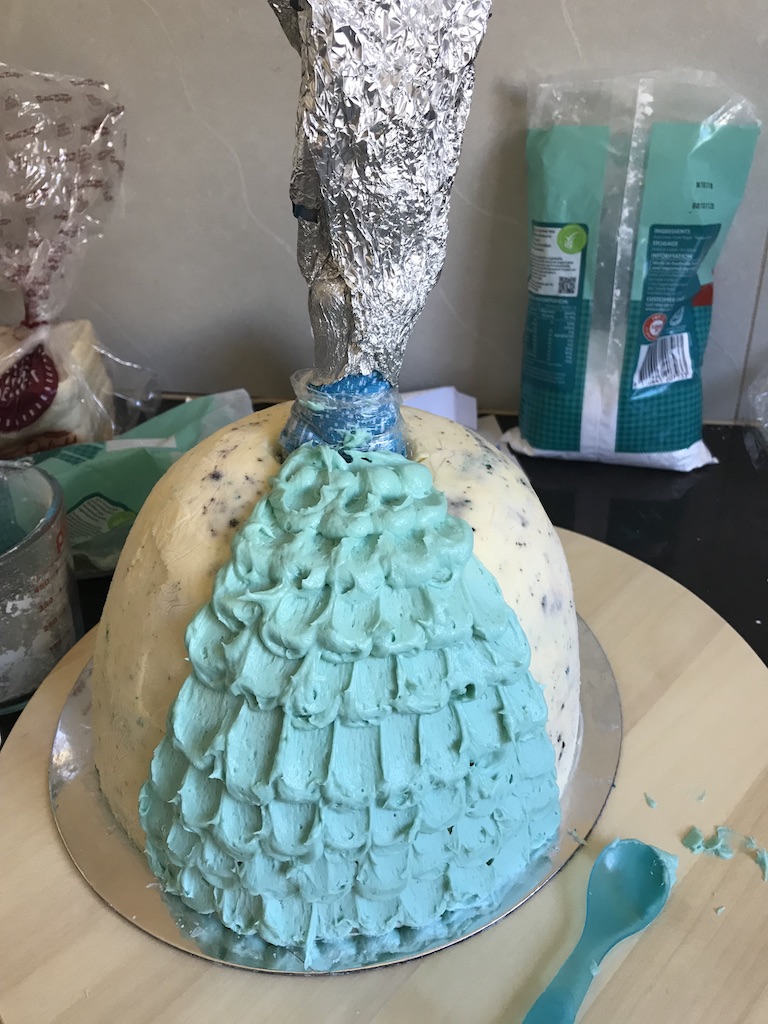
I then used the skinny nozzle to pipe what I hoped looked like ribbon around the rest of the cake in a darker blue frosting. To finish I piped little star shapes around the top of the cake around Elsa’s hips to make it look like the dress flowed better. Then I added some clear sprinkles and white pearls to the dress.
Off came the aluminium foil and ta-da! It was complete. I bought a large cake box from Spotlight and it fit, thankfully, and transported well.
It was thoroughly enjoyed by the kids at the party even if there was a bit too much cake for the amount of kids.

The 10 out of 30 cake pops that I made that worked were also a hit. Note to self, add a little more frosting and find a way to thin the candy melts a little more. Otherwise these were alright too, especially for a first try.