Nappy Cake
By Aimee on

So my dear sister is due to have her third child in early March. As soon as she told me all I wanted to do was throw her a baby shower. I was so excited. My main plan after hunting on pinterest for hours was to make her a nappy cake. The baby shower is fast approaching and the other day I thought it was best to act on that creative urge. After a trip to Target and Neds I had the necessary ingredients to create my masterpiece. My sister has called her little bump, bumblebee, and that is why I have chosen the colours.
Things You Will Need
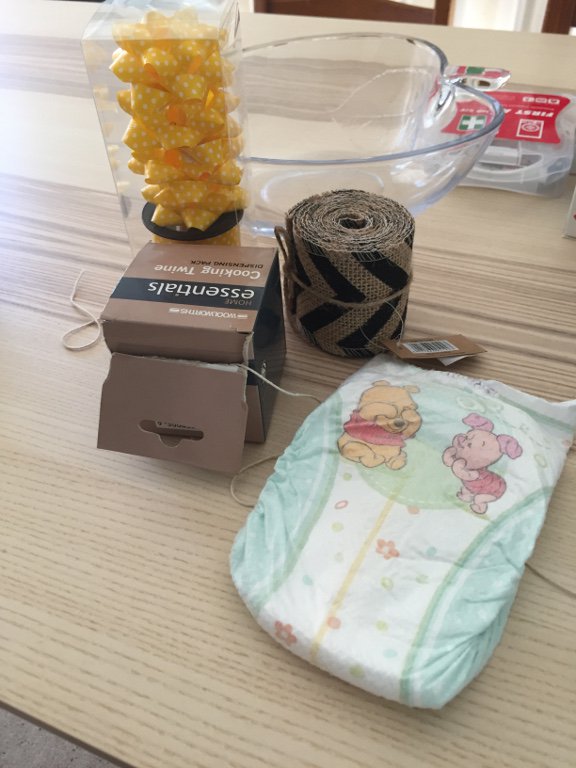
- Nappies (huggies newborn)
- Thick and/or thin ribbon
- Decoration for top of cake
- Scissors
- String or rubber bands
- Sticky tape
- Toilet rolls or paper towel roll
Step One
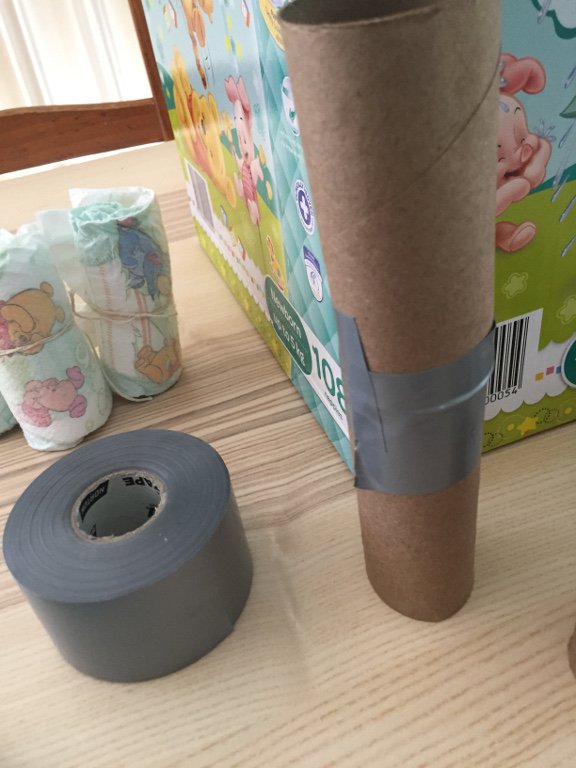
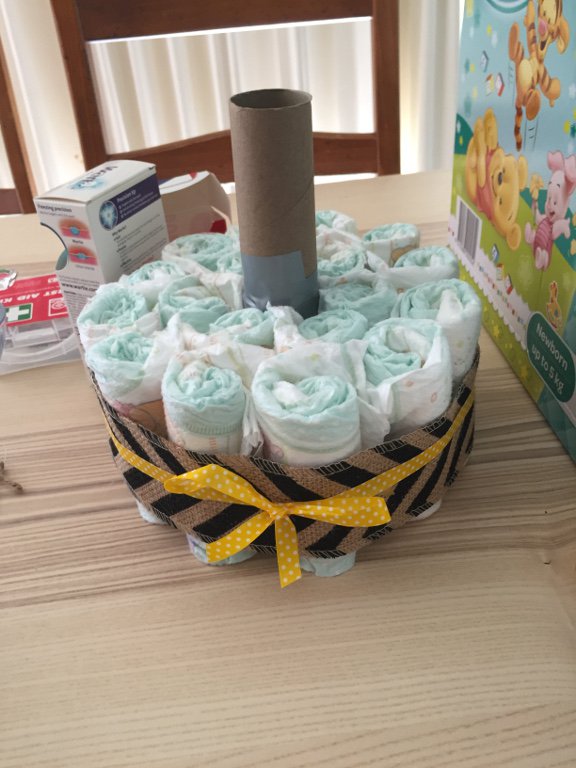
If you are using toilet rolls tape these together. They are the perfect height for one layer of a nappy cake. I made mine with two layers but obviously you can do more layers or keep it extra simple with one.
Step 2
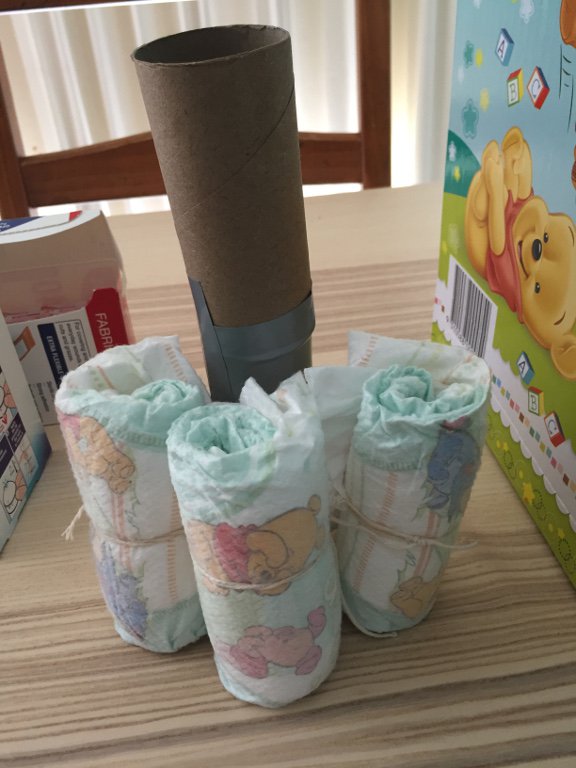
Start rolling up the nappies from the folded end to the open end and tie it up. If using rubber bands then band them tightly. I used six for the initial inner ring then almost double that for the outer ring on the bottom layer. So keep rolling and tying!
Step 3
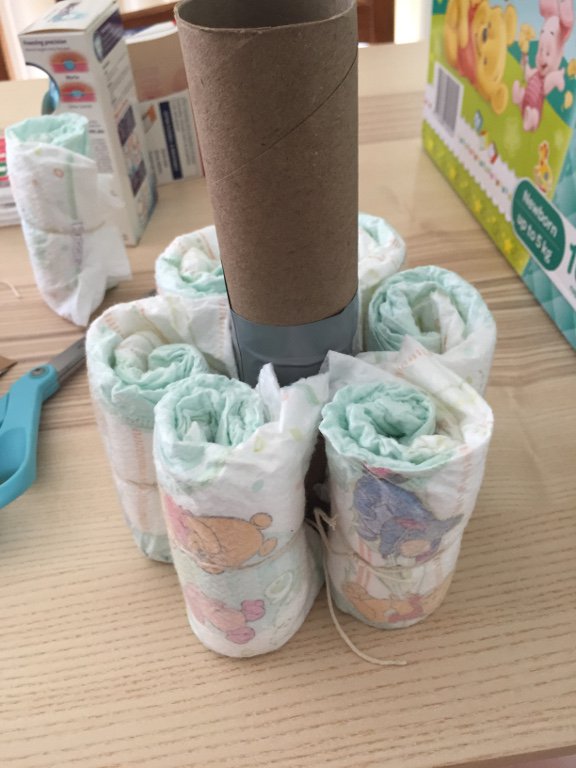
Tie the inner ring of nappies to the toilet roll. Then tie the outer ring of nappies to the inner ring. I used cooking string for this step and wrapped it around twice just for good measure. I’m not sure what my sister will do when she sees all the string.
Step Four
Wrap your base layer in your wide ribbon. I then taped it together at the back. Because mine was made of burlap the sticky didn’t hold very well but it held long enough for me to tie my thin ribbon over top and tie a nice bow.
Step Five
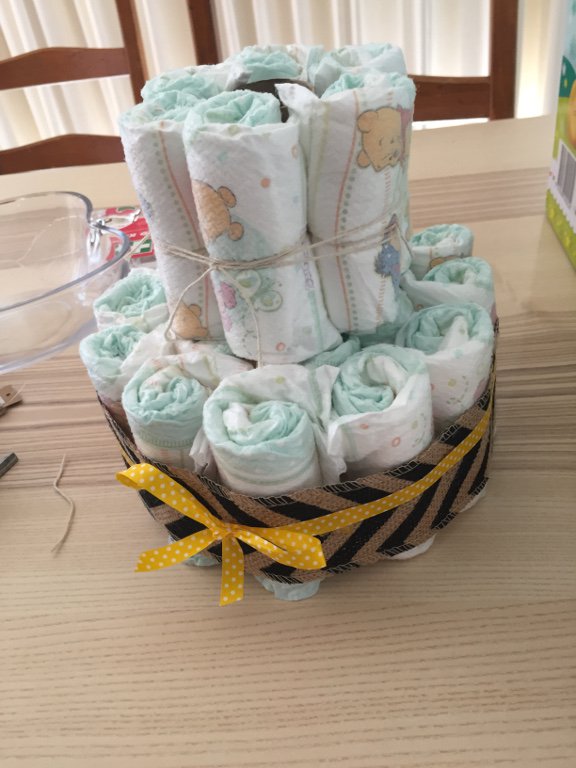
Time to do the second layer. Tie your rolled up nappies onto the second tier. You should only need one layer and probably six nappy rolls. If you do decide to have three tiers then your bottom tier will have three layers, your second tier two and your top tier one. Hopefully the photos make it easier to understand.
Step Six
Repeat the ribbon adding process with your thick ribbon first then your thinner ribbon second. By this time it should almost be complete, just to add the decorations on top.
Step Seven
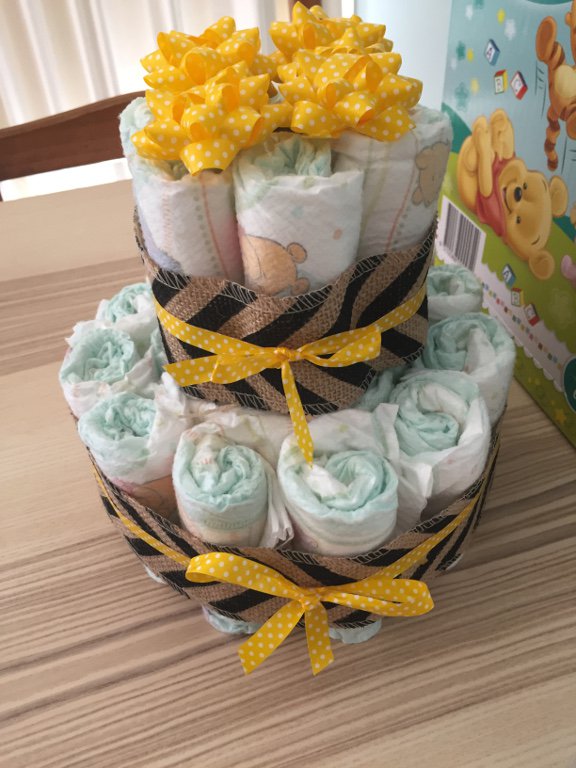
I used stick on bows for my decorations and still might go and grab a little plush toy. The stick on bows haven’t really worked that well but they look cute!
And that is all their is to it. Pretty simple and very effective I might say. The most expensive part was buying the nappies and I didn’t use all of them. I will probably just give the rest to my sister but this is a cute way to package a few of them. The best thing about it is that it can be customised for any gender or theme if you find the right ribbons and ‘cake topper’. I’ve seen some that have little duckies on top and others that have teddy bears. I was hoping to find a bee but didn’t have much luck. Oh well. It still looks great. I hope this has inspired you all for your next baby shower gift.